Thermal cameras have become an essential tool in metal joining and fabrication processes. They enable accurate temperature readings and visual feedback, ensuring precise results. In this blog, we will discuss the various applications of thermal cameras in the development of welding and Metal AM processes, and how they can help achieve better process control and quality assurance.
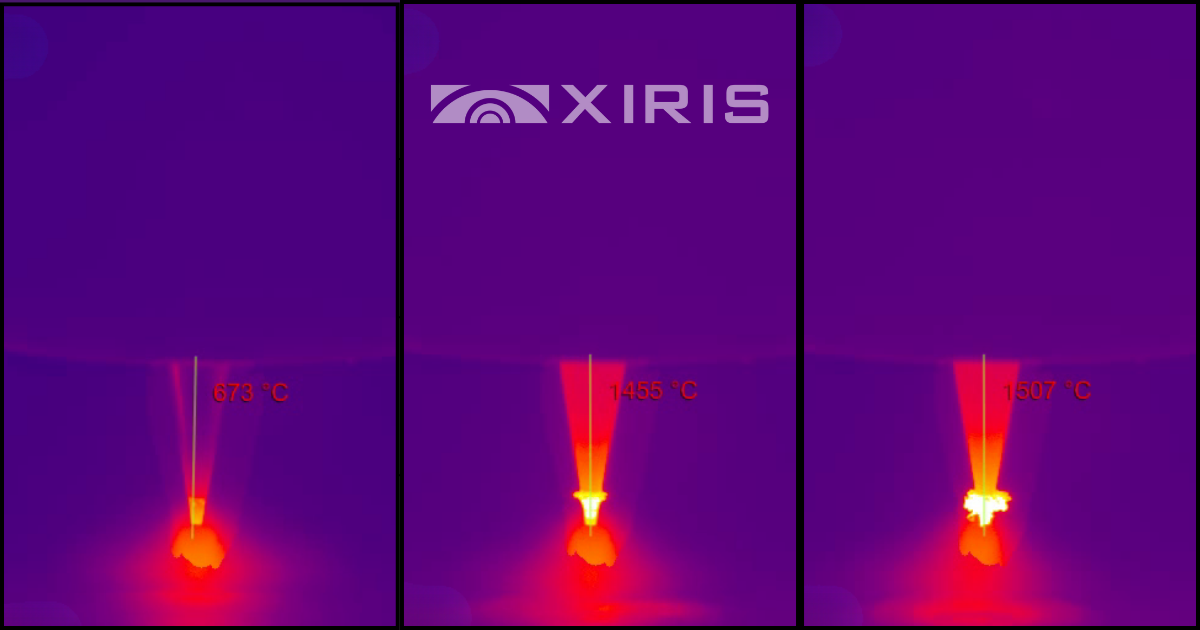
Using a thermal camera can help you measure temperature in real-time and identify areas where the temperature is not consistent, allowing you to adjust your welding or Metal AM process accordingly. A camera such as the Xiris XIR-1800 thermal camera is sensitive to Short Wave Infra-Red (SWIR) radiation and generates a High Dynamic Range (HDR) image.
The camera can also capture the cooling rate, which is crucial in determining the final microstructure and mechanical properties of the joint or structure built. By analyzing the captured thermal images, you can also identify any potential defects, such as cracks or porosity, that may have occurred during the process due to the temperature fluctuations.
Process optimization
A thermal camera can help optimize your welding or Metal AM process by identifying areas of the process that may require adjustments. For example, you can use the captured thermal images to determine the best welding speed or laser power for Metal AM, ensuring that the final product has the desired microstructure and mechanical properties. By monitoring the temperature in real-time, you can also detect and correct any deviations in the process, minimizing the risk of defects and improving the quality of the final product.
 |
Quality assurance
Using a thermal camera in welding and Metal AM can provide many benefits for process control, optimization, and quality assurance. By monitoring the temperature in real-time, you can identify areas that require adjustments, optimize your process to achieve the desired properties, and ensure that the final product is free from defects.
Temperature measurements
Temperature measurements play a significant role in the process and affect the mechanical properties of a weld joint, or a structure built with Metal AM. Some key measurements include:
|
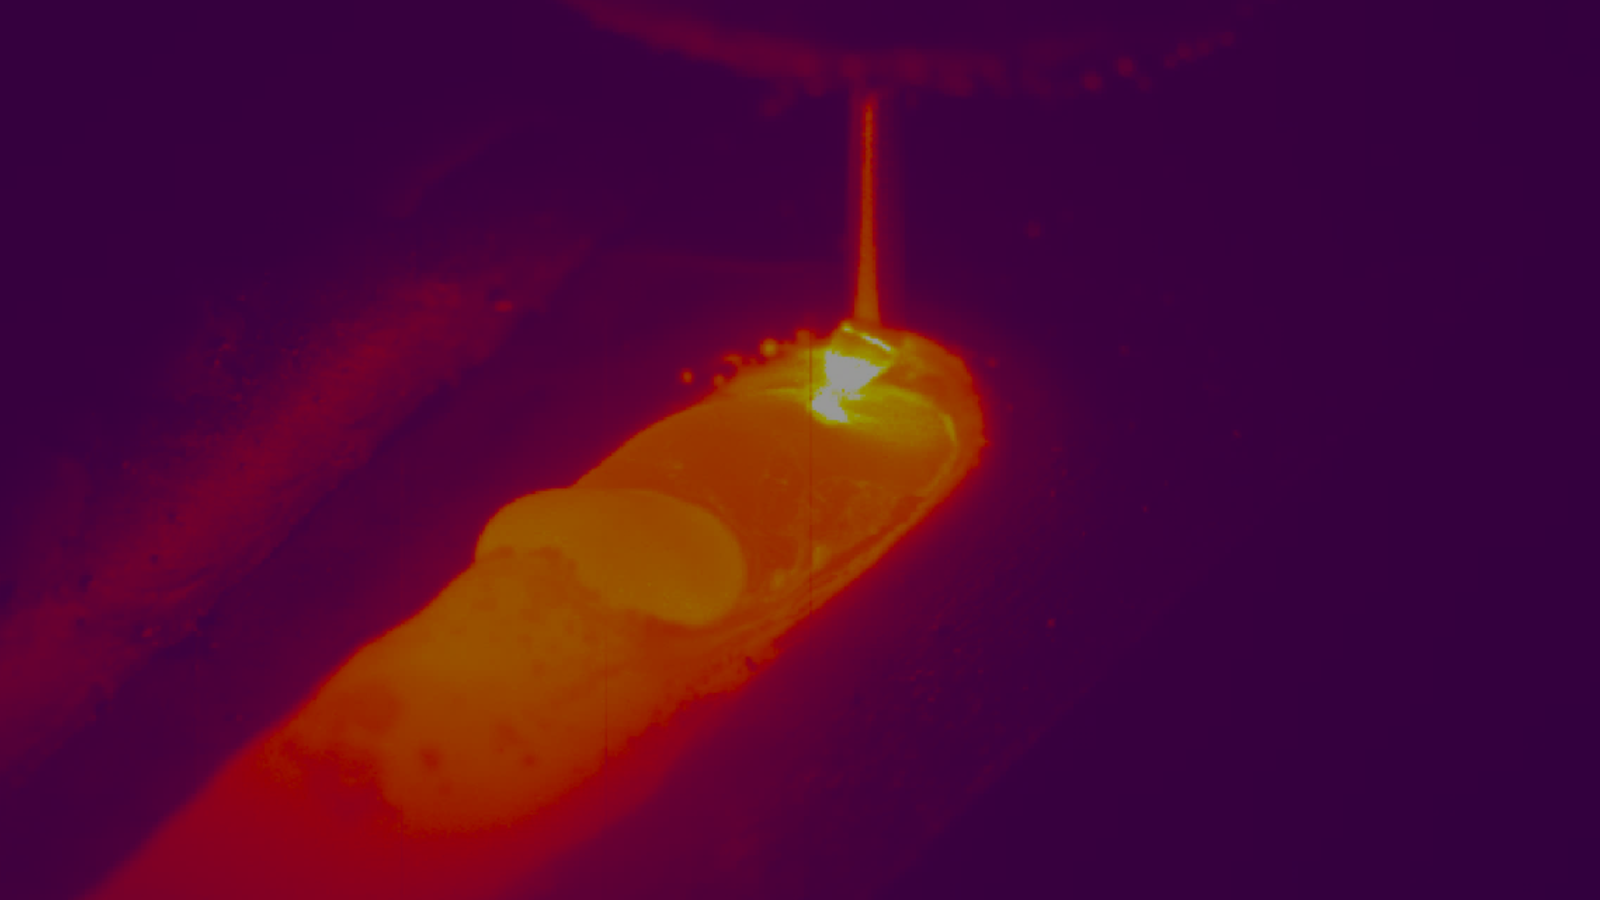
A GMAW process laying down weld bead in spiral formation |
Cooling Rate Analysis:
Cooling rate is key in metal joining processes. If cooling is too short, the weld bead can become brittle due to martensite formation. Using Xiris XIR-1800 camera provides accurate temperature readings and visual feedback, ensuring precise results.
Peak temperature measurements:
The heating process causes microstructural evolution in metals. In welding, temperature affects local microstructure, which influences the cooling phase.
Monitoring Inter-pass Temperatures Between Weld Passes or AM Layers:
This is important for control over mechanical and microstructural properties of the weld and avoiding hot cracking.
Bead Temperature Profiling:
It can be used to monitor the cooling process of a weld bead and determine the location of various features. Software measurement tools can be used to show the temperature distribution along a chosen line or at specific points, and to monitor the cooling profile through the solidification area. A local maxima tool can detect the hot spot on the tip of the wire electrode, providing immediate positional updates for better process control.
Are you interested in learning more about using thermal cameras for metal additive manufacturing research and development? Our newly released whitepaper, "A Guide for using thermal cameras and Metal AM R&D," provides in-depth technical information on the topic.
You can gather more information and details about thermal temperature measurements included above. Download the whitepaper now to gain valuable insights and improve your metal AM R&D process.
 |
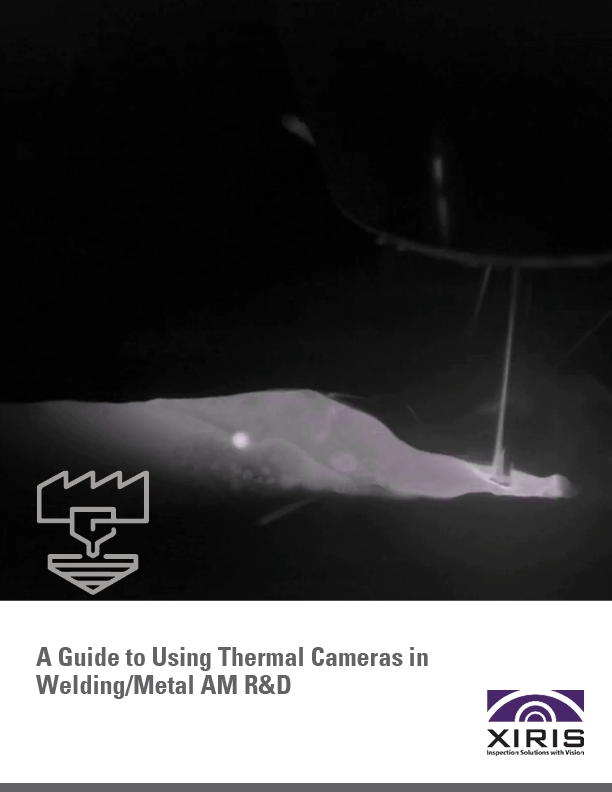
A Guide for Using Thermal Cameras in Welding and Metal AM R&DHeat measuring sensors have been applied to metal joining and fabrication processes for many years. Most of the equipment used in past would not allow for proper temperature measurement and characterization because only a single point was being measured at a time. |


.png)
