The Automotive Sector is constantly trying to reduce the weight of cars. Part of that effort is to approach their suppliers to see what they can do to reduce the weight of their components. Fabricators of tubes for the automotive sector are constantly being asked to meet more difficult weight limitations of their tubes.
In order to achieve the desired weight reduction of a tube, tube fabricators need to use:
- Lighter materials;
- Thinner Wall Thicknesses; and
- Higher Yield strength materials.
These are only possible if tighter manufacturing specifications and process tolerances are established.
Tubes fabricated from higher yield strength material are more susceptible to mismatch during fabrication. Traditionally; fabricators used a common practice of allowing mismatch on a longitudinal welded tubes of up to 5% of the wall thickness. 5% becomes a very small number very quickly when wall thickness is reduced.
Experience has shown that for higher yield strength materials a mismatch of 5% will result in a higher weld split failure. In these applications tube producers need to maintain a mismatch tolerance in the 2% to 3% range, well below common practice on milder materials. These tight tolerances make it difficult for mill operators to see or detect using traditional means of looking at the scarf material, the finger nail scratch without stopping the mill interrupting production.
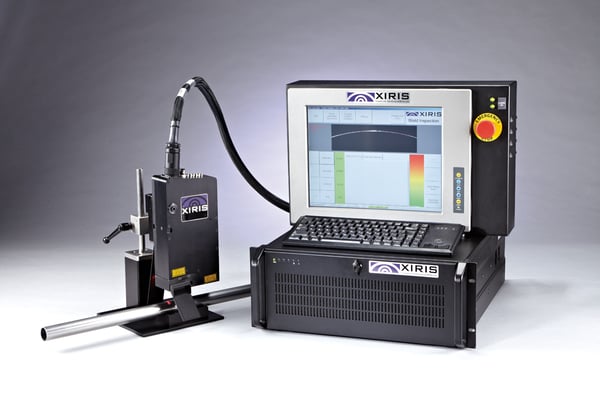
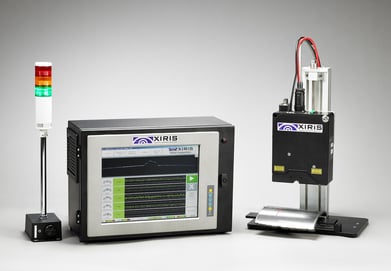
High resolution geometrical measurements are required in the weld zone making this an ideal application for laser based technologies such as Xiris’ Weld Inspection Solutions. The WI2000 or WI3000 makes continuous measurements providing the operator with a clear visual of the weld zone form process while also being able to set tolerance limits to alarm when an unexpected variation occurs.
|
|
Follow Xiris on social media for regular updates and welding videos!


