In the world of metal tube and pipe manufacturing, precision and efficiency reign supreme. High-Frequency Induction (HF) welding offers speed and versatility but comes with intricate challenges. Let's explore how advanced inspection systems are transforming this industry, with a special focus on tackling the question, "How to measure V-angle in HF welding?"
The HF Welding Conundrum
HF welding is well-known for its ability to handle various tube diameters and thicknesses, making it a preferred choice for manufacturers. However, it demands meticulous control over parameters like mill geometry, material quality, and welder settings. With the increasing demand for high-strength materials and cost-effective production, the margin for error is razor-thin.
How Can Innovative Inspection Techniques Elevate Precision Standards?
Enter innovative inspection systems designed to revolutionize HF welding. These systems offer invaluable insights into the welding process, making it possible to address challenges effectively:
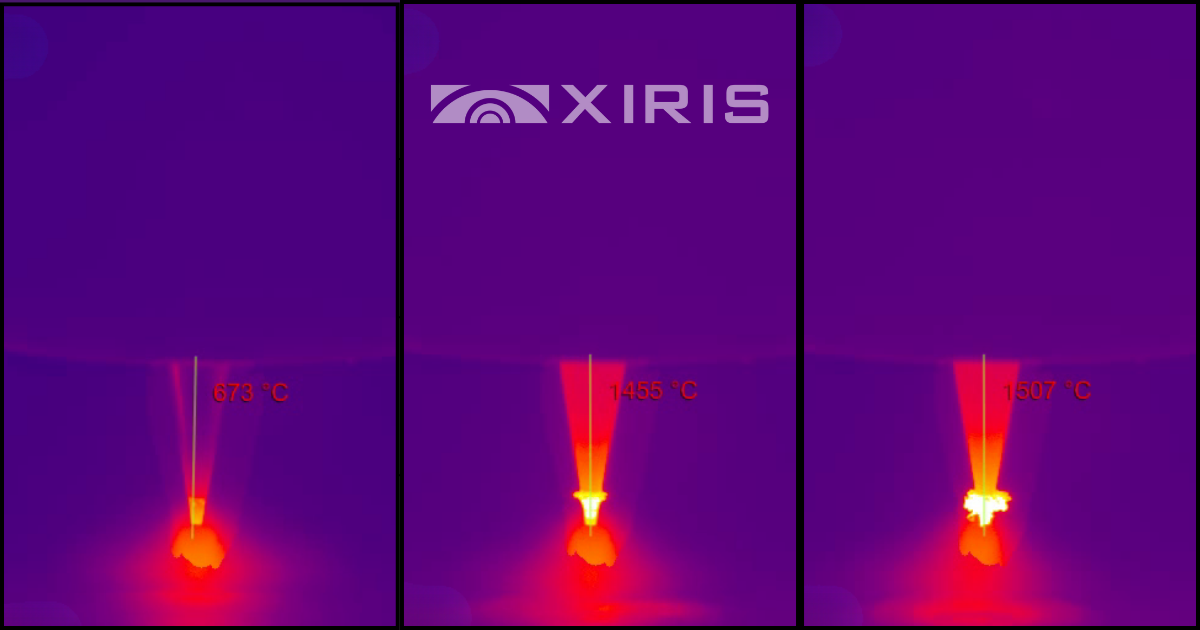
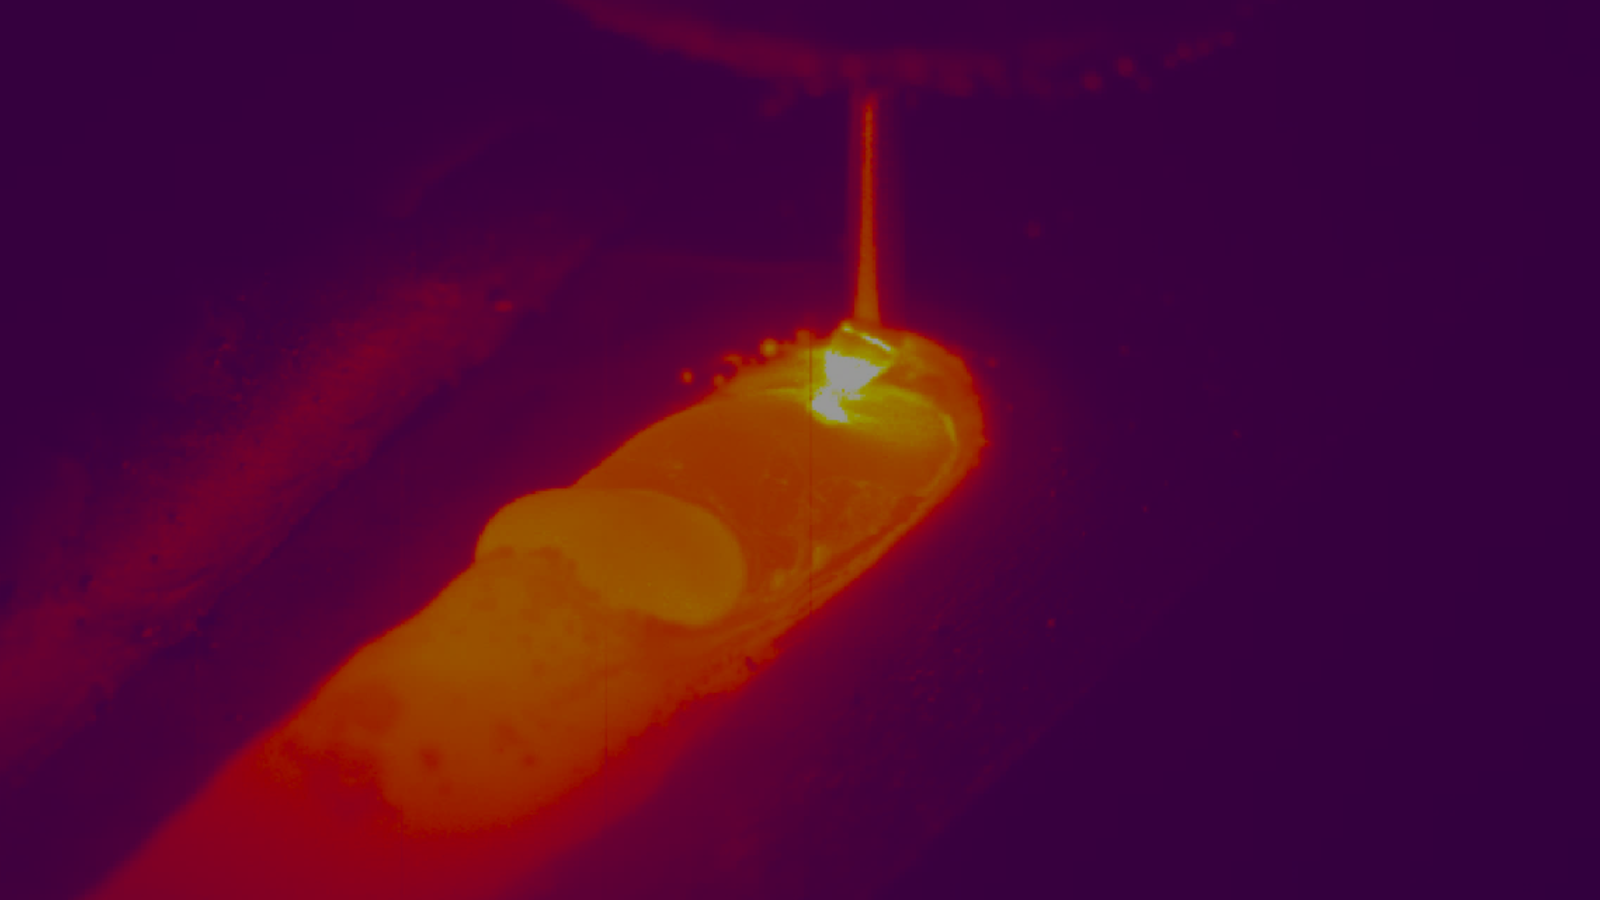
- 2D Clarity: The technology employs advanced weld cameras to provide a detailed 2D view of the Weld "V" post-induction coil. This visual clarity empowers operators to monitor the welding process with unmatched precision.
- Geometric and Thermal Data: These systems not only provide visual data but also decipher geometric and thermal information. This multifaceted approach ensures precise control over the welding process.
- Real-time Monitoring: Continuous measurement and real-time monitoring enable operators to master the welding process as it unfolds, making adjustments when necessary.
- Data-Driven Decision-Making: Statistical Process Control (SPC) analysis tools allow for data-driven decision-making, ensuring that every aspect of the welding process is optimized.
How to Measure V-Angle in HF Welding: A Key Query
One of the critical questions in HF welding revolves around measuring the V-angle. This parameter plays a pivotal role in determining the welding process's efficiency and reliability. Innovative inspection systems provide a clear answer to this query, offering real-time measurements and insights that guide operators to achieve the optimal V-angle.
Embracing Precision in Tube Manufacturing
With these advanced inspection systems in place, the industry has witnessed a remarkable transformation:
- Seamless Welds: The technology has enabled manufacturers to consistently produce flawless welds, raising the bar for quality standards.
- Cost-Efficiency: Enhanced productivity and cost-efficiency have become the industry's new norm, allowing manufacturers to meet market demands effectively.
- Real-Time Control: Operators now have the ability to fine-tune the welding process in real-time, responding to changes swiftly.
- Data-Driven Excellence: Informed decisions based on data have become the cornerstone of operations, ensuring optimal results.
- Early Deviation Detection: The industry now boasts early detection of deviations, allowing for immediate corrective actions and maintaining consistent quality.
Pioneering Precision
The integration of innovative inspection systems has revolutionized HF welding, offering precision and efficiency even in the face of surging demand for high-strength materials and cost-effective production. The industry is now poised for a new era of excellence.
Download our exclusive whitepaper, which delves deeper into mastering HF welding challenges and achieving precision in tube manufacturing.
Stay up to date by following us on social media or subscribe to our blog!


.png)
