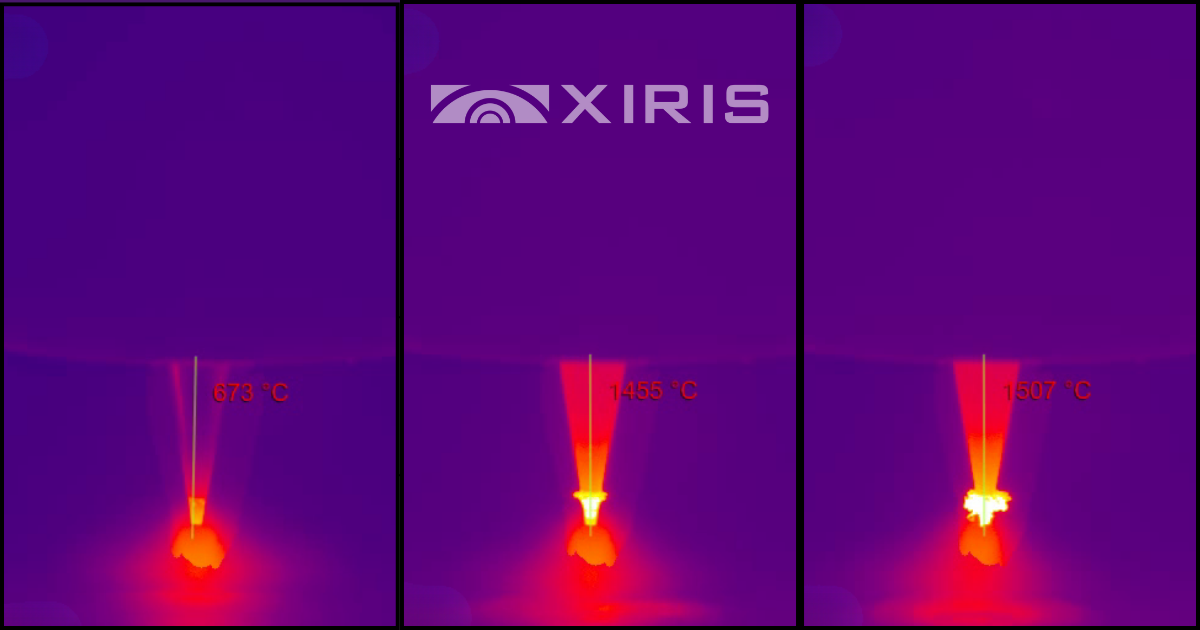
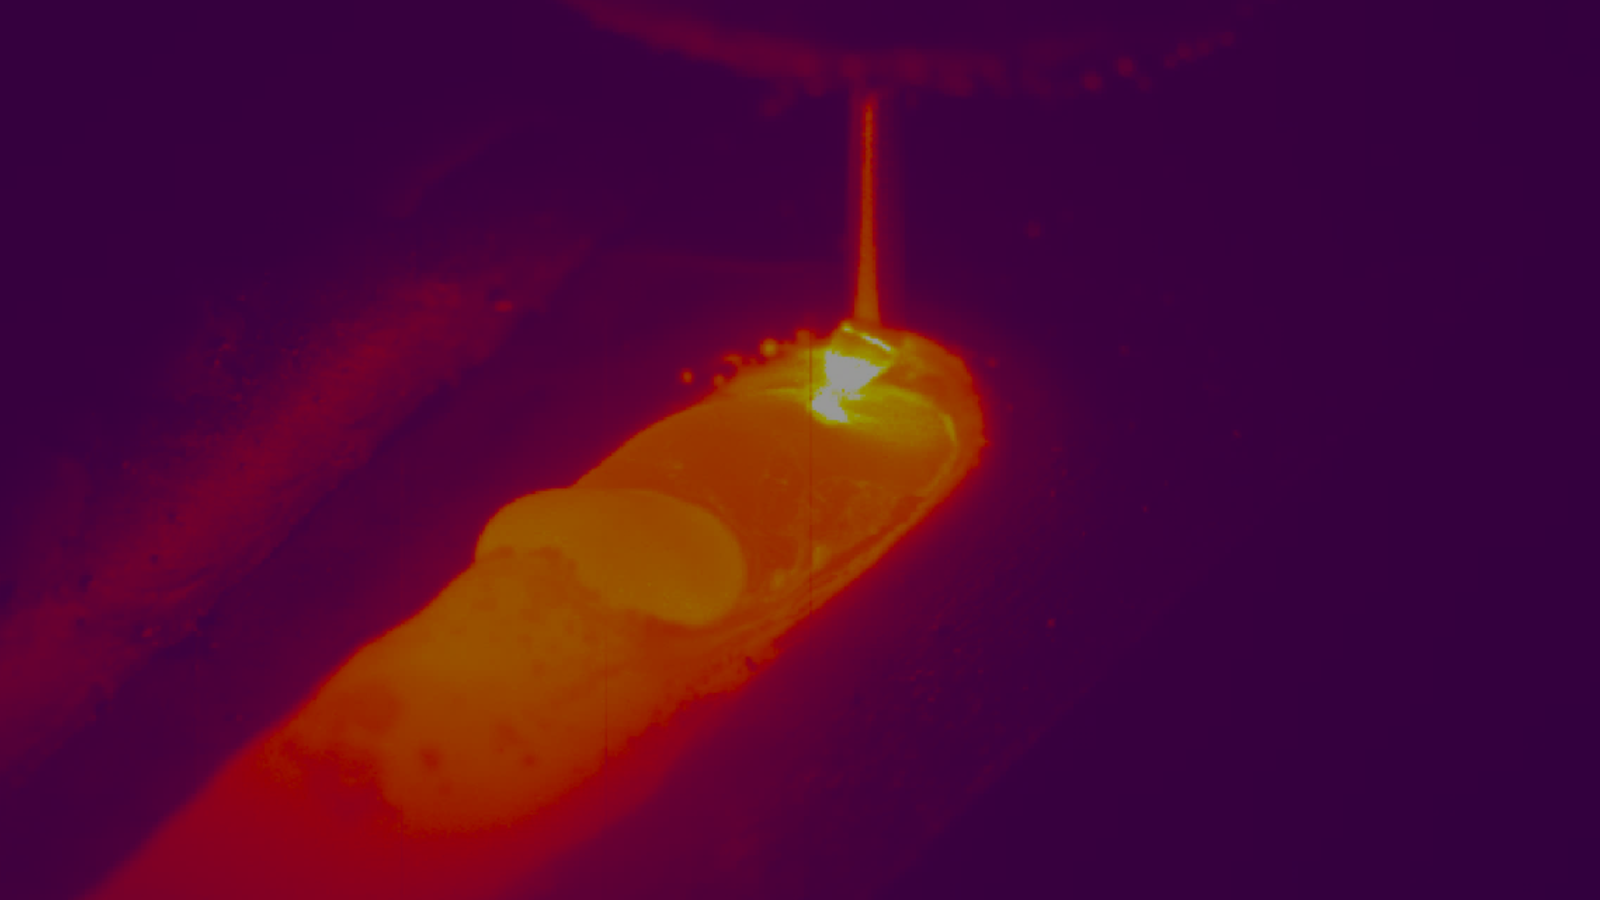
Scarfing is a process of removing excess weld bead on a pipe or tube to create a desired shape. It is done by planing longitudinally welded tubes or pipes right after the welding process. If it is done perfectly, the resulting profile will match the ideal shape of the parent material. However, if the scarf tool is set to plane too much material, or not enough, the resulting profile could appear too deep or leave a weld bead above the parent material.


Detecting if the scarf tool is properly adjusted is a difficult task to do on a continuous basis. In particular, some thick walled tube and pipe mills make precision end products using multiple scarf cuts using scarfing tools operating sequentially. If not correctly adjusted, the tube or pipe could end up with an incorrect profile shapes where the scarf occurred. A way to make sure that the right amount of material is removed from the welded tube is important. If placed after the scarfing process on a tube mill, the Xiris WI-2000p can measure the scarf width and bead height left behind after a scarfing process to provide quality control of the scarfing process itself.
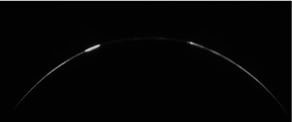
In the above image taken from a WI-2000p system, a laser profile is shown of a welded tube, post scarf. The area of the scarfing does not reflect the laser line as well, so the scarfed area can be easily detected and measured. As the scarf cuts deeper into the material, the scarf width will increase, as it cuts shallower, the scarf width will decrease.
Conclusion
Measuring the scarf area of a tube or pipe with a device such as the WI-2000p Weld inspection system from Xiris is a quality control tool to ensure that the scarfing process has been set properly and not cutting too little or too much of the parent material away.
Would you like to see what the Xiris XVC-1000 has to offer? Subscribe to the Weld Video of the Month Club to receive exclusive video content recorded by our own XVC-1000

For more information on how Xiris Weld Cameras can help monitor your weld processes, visit Xiris.com


