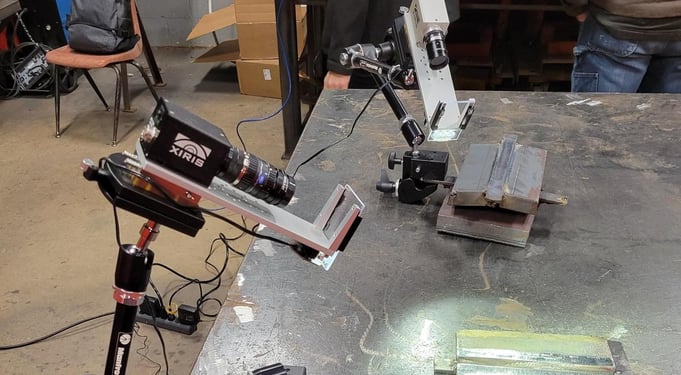
Weld cameras have been implemented into many classrooms and training facilities to help create collaborative environments, make a more efficient use of classroom space and help students gain a stronger understanding of the weld process by presenting a different perspective.
 An important component in offering this perspective to students and improving their experience in the welding classroom is the software that is provided with the weld camera system. At Xiris we develop all our software in-house and ensure that users can make the most of their captured weld images. As part of this commitment, we have recently released WeldStudio™ 3 with features that contribute to greater ease of use while also providing the tools necessary to interpret and learn from the weld image.
Below are the top 5 WeldStudio™ 3 tools that can be used to enhance the student experience and improve productivity in the welding classroom.
1. Pseudo Color
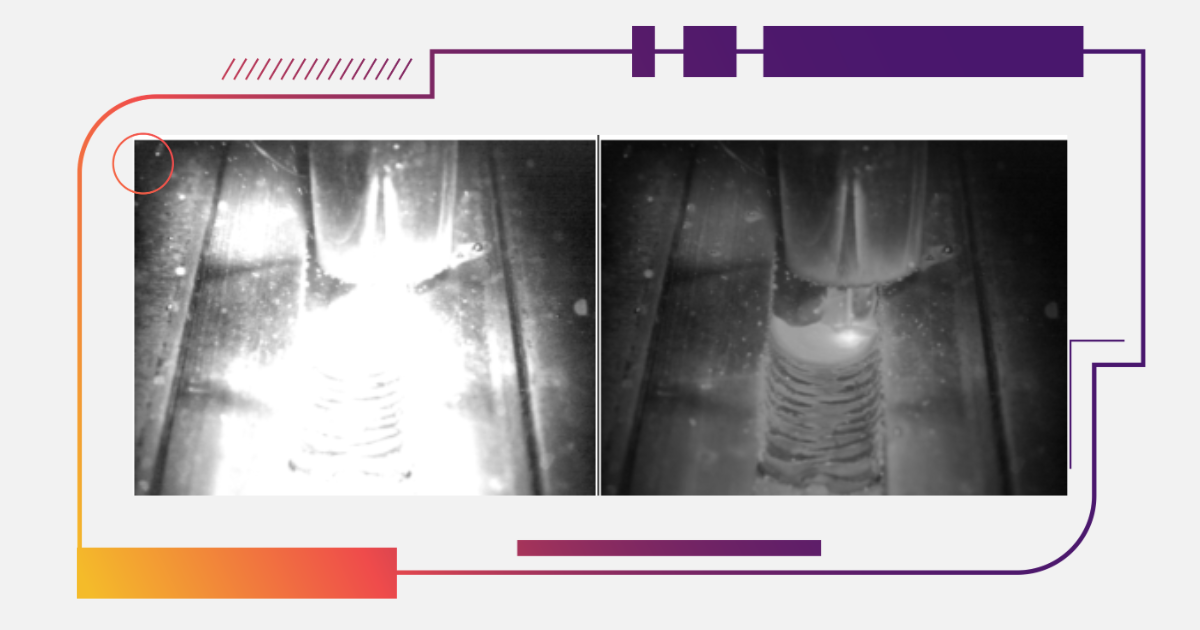
Pseudo Color is an image processing tool that applies a false thermal color palette to the image. When the Pseudo Color tool is applied, each grey level (or intensity value) in a monochrome image is assigned a blue, green or red color. The resulting image can make the identification of certain features easier for the student, as the perceived difference in color for the student is bigger than between successive grey levels alone. Features such as the leading edge of a melt pool, the boundary between a torch and weld arc, the texture of the melt pool or more, can be made more visible to the student using pseudo coloring.
2. Graphical Overlays
The available graphical overlays in WeldStudio™ 3 include crosshairs that can be placed anywhere at any angle, and reticles with hatch marks to indicate detail size. These overlays can help students recognize and maintain the ideal position of their weld torch relative to the work piece.
3. Image Rotation or Mirror
In some settings, to get the best angle of the weld process possible, the camera may have to be mounted upside down or rotated sideways. In such cases, the image can be rotated or flipped along a horizontal axis to get the desired orientation. Rotating or mirroring the image allows the video as presented on screen to be shown in the most logical orientation to the student despite how the camera is mounted.
4. Area-of-Interest
Area-of-interest (AOI) processing crops the image coming from the sensor so that only a specified sub-area of the captured weld is in view. This can be an important tool to help ensure that students are looking at the correct parts of the weld that the instructor is trying to highlight.
5. Recording and Playback
Any images captured with the cameras can be played back using a “virtual camera” window in the software. Video recording and playback allows students to record their own welding process and play it back at slower speeds or even frame by frame to see key details of how they were welding. Students can use this to learn how to improve their welding for the next pass.
To learn more about implementing Xiris weld cameras and WeldStudio™ 3 software into your classroom, check out a previous blog where we share real classroom examples or speak with our education expert.
Stay up to date by following us on social media or subscribe to our blog!
![]()
![]()
![]()
![]()