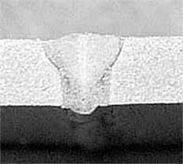
Lab time is a precious commodity. As part of the changeover process on a tube mill, the tube to be produced must first be qualified to a desired level of quality in the lab. This line qualification process often includes cutting as many as three separate cross sections of a tube and sending them to the lab for processing where they get polished and photographed as micrographs. Once created, the micrographs can be measured or analyzed to verify that the weld structure of the tube meets the specifications required by the customer. By using a weld inspection system that can accurately measure weld bead geometry and tube profiles, it may be possible to reduce the number of micrographs taken for each line qualification from a sample made for 100% of every change over to a lower, statistically relevant percentage. The net result is that fewer line qualifications are required, leading to fewer tests (e.g., micrograph samples) performed in the lab, saving both lab time and lab personnel costs.

Image of a Sample Micrograph
courtesy www.twi-global.com
Want to reduce your lab times? Investigate how to justify an automatic weld inspection system using a ROI worksheet where you can enter your own mill data.
Download your FREE ROI Calculator Now!
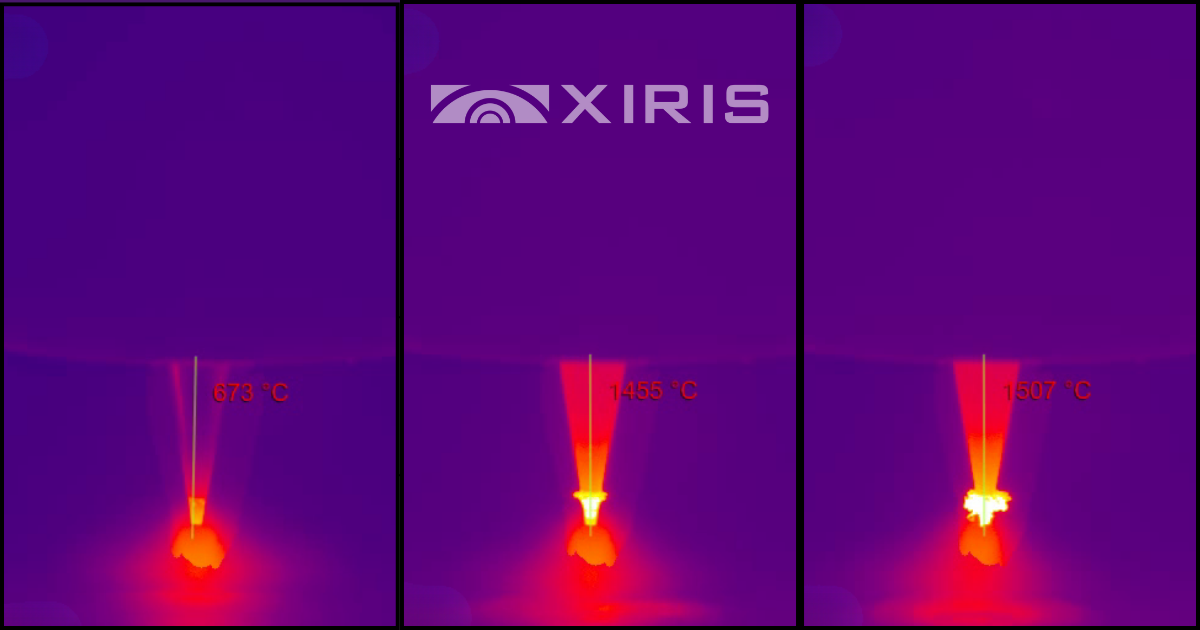
For more information on how Xiris Weld Cameras can help monitor your weld processes, visit Xiris.com or sign up to receive the Weld Video of the Month


.png)
