Undercut remains one of the most frequently encountered weld discontinuities in both manual and automated fabrication environments. Though often subtle in appearance, this recessed groove at the weld edge introduces critical stress concentrators that can impair structural performance, particularly under cyclic or impact loading. Its formation is not limited to any single welding process or material type, and its impact spans sectors ranging from pipeline assembly to aerospace framing. As such, understanding how undercut develops, how it can be detected, and how it may be prevented is central to ensuring weld reliability and long-term joint integrity across industrial applications.
What Is Undercut in Welding?
Undercut Welding Defect is a fusion-related discontinuity defined by a groove that forms along the edge of a weld bead, typically at the weld toe or root. It occurs when the molten filler metal fails to fuse smoothly with the base material, leaving a recessed channel as the weld solidifies. This geometry results in a localized reduction in cross-sectional area, creating stress concentration points that may compromise the mechanical integrity of the joint. While undercut is especially prevalent in fillet and butt welds, its occurrence is not confined to a specific joint type and may appear across various materials and welding positions.
Even when undercut remains within tolerance thresholds, it can still propagate fatigue cracks under cyclic loading conditions. Accurate differentiation from underfill, lack of fusion, or other discontinuities is critical to ensure correct mitigation strategies.
Why Undercut Matters
The presence of undercut introduces geometric irregularities that directly affect weld performance. Beyond visual imperfection, it serves as a mechanical and metallurgical weak point.
Undercut acts as a stress riser by altering the load path along the joint. The notch-like geometry intensifies localized stresses, increasing the likelihood of crack initiation, particularly in components subjected to fatigue, impact, or vibration. In pressure vessels, pipelines, and structural steelwork, even shallow undercut can compromise performance over time. The area adjacent to the groove may exhibit grain coarsening or localized hardening due to uneven heat exposure during welding. These transformations reduce ductility and can lead to brittle fracture under service conditions. The defect also disrupts stress distribution across the heat-affected zone, which may lead to strain localization and reduced joint longevity.
Causes of Undercut
Undercut formation stems from a combination of thermal imbalance, material properties, and process inconsistency. Several interdependent factors contribute:
1. Welding Parameters
Incorrect travel speed is one of the most frequent causes. When the torch moves too rapidly, there is insufficient time for the filler to deposit along the edges, leaving them unsupported as the pool solidifies. Conversely, excessive voltage or arc length broadens the arc cone and erodes the sidewalls instead of fusing them. An unbalanced wire feed rate, particularly in mechanized systems, disrupts the filler-to-heat ratio and increases defect probability.
2. Joint Configuration and Preparation
Groove geometry and surface condition directly influence arc behavior. Sharp bevel angles or narrow joints concentrate arc energy at the sidewalls, promoting localized melting without adequate filler support. Additionally, surface contamination such as mill scale, rust, or oil can alter arc stability, create erratic wetting, and generate localized overheating that promotes groove formation at the weld toe.
Detecting Undercut Accurately
Effective detection requires a combination of surface-level examination and thermal pattern recognition. The selection of method depends on weld criticality, access, and production environment.
Visual and Dimensional Inspection
Initial assessments rely on proper lighting and magnification to reveal linear notches along weld toes. Mechanical gauges and digital calipers measure the depth of discontinuity. In most structural applications, grooves deeper than 0.5 mm across critical sections are considered rejectable.
Nondestructive Testing
Techniques such as dye penetrant testing offer enhanced sensitivity to shallow open defects. For internal profiling, phased-array ultrasonic testing provides precise localization of groove depth and extent. These methods are particularly valuable in safety-critical sectors such as aerospace or pressure vessel fabrication, where surface anomalies must be quantified and tracked.
Thermal Imaging and Pattern Monitoring
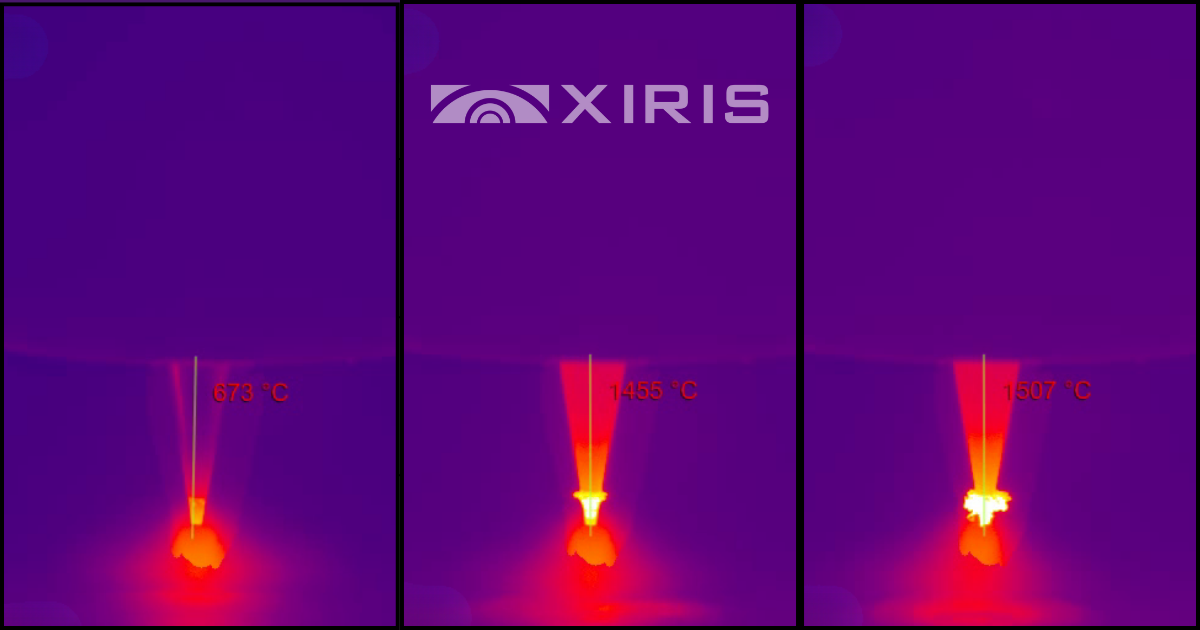
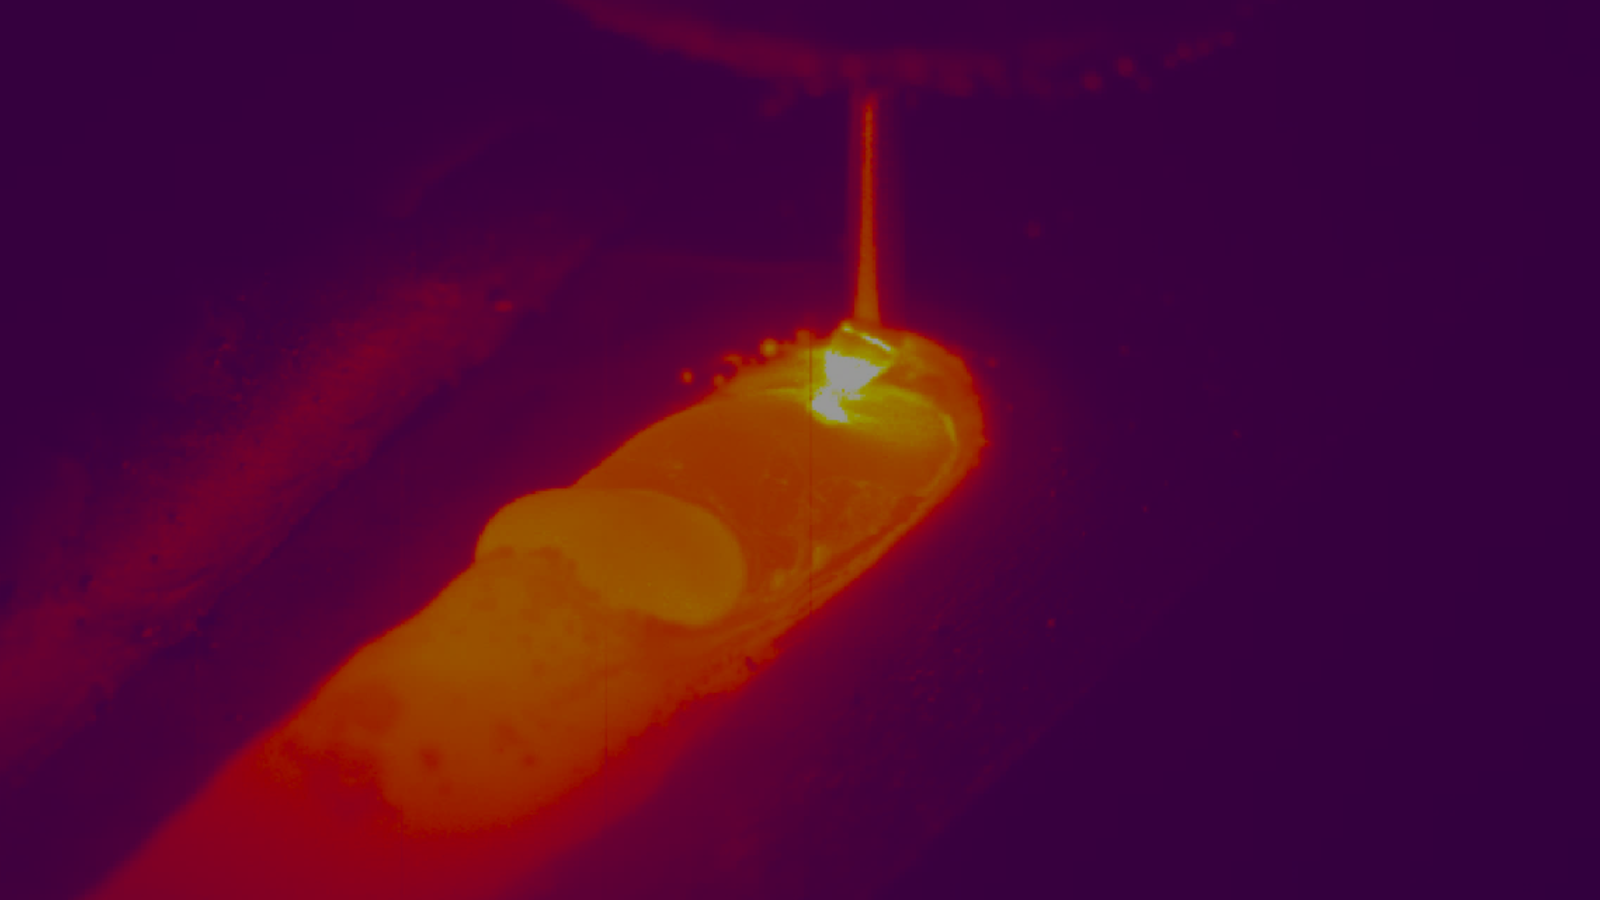
Thermal cameras enable live analysis of edge temperature behavior during and after welding. Uniform thermal distribution along the bead indicates consistent fusion and proper sidewall wetting. Sudden heat drop-off at the weld toe, or elevated lateral temperatures, may indicate poor filler bonding or arc misalignment. Integrated systems can trigger alerts when heat signatures deviate from programmed norms, providing early warnings of incipient undercut formation.
Preventing Undercut in Production
Prevention begins with precise control over thermal input, filler delivery, and arc orientation.
Control of Process Parameters
Maintaining stable travel speed and torch angle ensures uniform energy delivery and consistent melt pool shape. A travel angle between 10° and 15°, paired with proper voltage calibration, promotes controlled wetting without over-penetration. Wire feed rate must match the thermal profile of the arc to avoid underfilling edges.
Joint Design and Surface Preparation
Well-prepared joints improve energy distribution and arc performance. Bevels should be uniform, with adequate root gap and surface cleanliness to stabilize arc length and prevent erratic behavior. Clean, properly aligned edges reduce turbulence and support even filler deposition.
Real-Time Thermal Monitoring
Thermal imaging adds a feedback mechanism to traditional process control. Monitoring thermal symmetry during welding reveals subtle anomalies in edge wetting. Automated systems equipped with imaging tools can adaptively adjust feed rates, arc energy, or travel paths in response to edge temperature deviations. This minimizes the occurrence of thermal gradients responsible for groove formation.
Summary
Welding undercut is a measurable surface defect arising from inadequate filler integration at the weld edges. Its occurrence is driven by misconfigured welding parameters, poor joint setup, and imbalanced thermal input. Left unaddressed, it creates mechanical and metallurgical vulnerabilities. Reliable detectionusing both visual tools and thermal diagnostics—enables timely correction. Prevention strategies center on process calibration and real-time thermal feedback.


.png)
