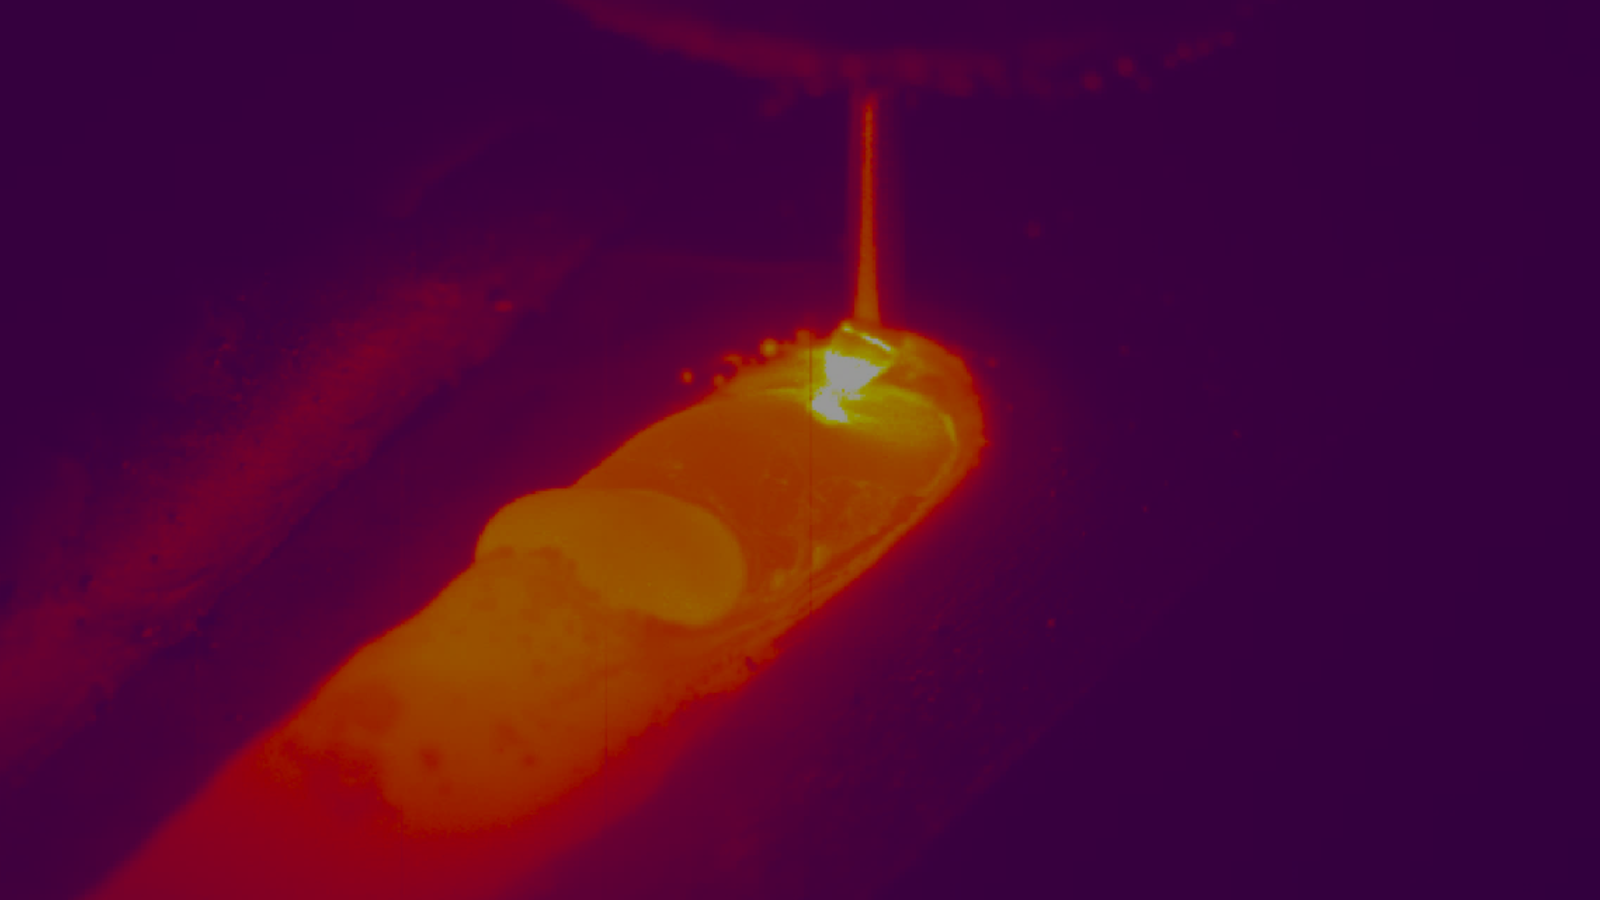
Electric Resistance Welding (“ERW”) is a welding process used in the manufacturing of the vast majority of Tube and Pipe production. On the typical ERW Tube and Pipe mill, coils of strip steel are fed into a mill and gradually formed into a cylinder, then heated up using a high power inductor coil as the two sides of the pipe are pushed together.
As the forcing together of the two sides tends to cause a sizable bead, a process known as scarfing is used to remove the excess material in the bead to provide a smooth surface. However, the process of removing the excess bead has to be carefully controlled so as to not remove too much of the parent material of the tube and therefore reducing the mechanical characteristics of the tube, while still removing enough material to leave no bead behind.
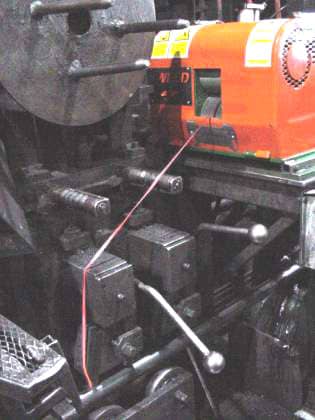
Scarf Being Removed from Tube
In order to properly control the scarf process and other tube weld parameters, tube fabricators have installed the Xiris WI2000p Weld Inspection system on to their production line after the scarfing process. Post scarf, the WI2000p system can still be used to accurately measure Mismatch (the difference in position of the parent material on either side of the weld seam, as measured by the position of the parent material outside of the bead or scarf area), Deflection (measuring the deviation from a round circle used as an indicator of strip edge to edge presentation) and Bead Height (when a bead is present, it measures the height of the bead above an ideal circle of the tube diameter).
However, the most important feature to measure post scarf is the Scarf Width (the width of the area on the tube that was removed by the scarfing tool). If the scarf has been cut too deeply into the tube material, the scarf width will appear too wide. If the scarf has been cut too shallow into the tube material, the scarf width will appear too narrow. Therefore, measuring the width of the scarf provides an accurate inference of the correct settings of the scarf tool.
Defect Types:

When the WI2000p is installed on a line post scarf, a live display of the scarf tool width can provide the operator with the ability to adjust the position of the scarf tool “on the fly”, rather than using cruder techniques such as feeling the scarf area by hand in order to make a judgement call as to whether the scarf is deep enough.
If a marking system is used in conjunction with the WI2000p system, the presence of a bead or a scarf width out of tolerance can trigger the marking system to mark a section of the tube with the defect.
The system can be an early indicator of problems with the rollers on the mill or the scarfing tool: when rollers start to get dirty or out of position, or the scarf tool is worn or out of adjustment, the scarf width will go out of tolerance and raise an alarm.
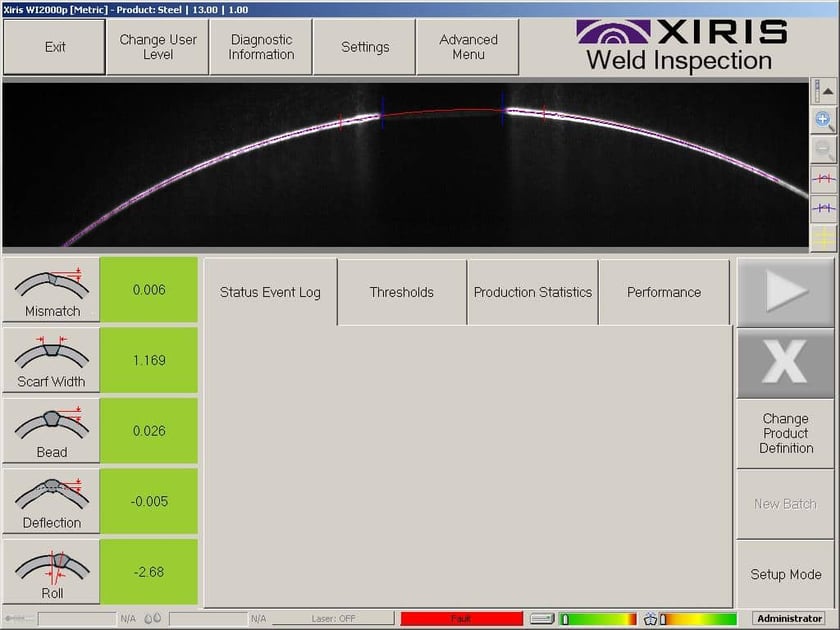
Image of Scarf Width on WI2000p Screen
Conclusion
Measuring several key parameters with a weld inspection system on a tube mill after the scarfing process can offer a number of advantages to the manufacturer. Most significantly, by monitoring the scarf width, the scarfing process can be controlled to produce high quality tube products.
Scarf Being Removed from Tube Image (Courtesy of Recycle Consultants)



.png)
