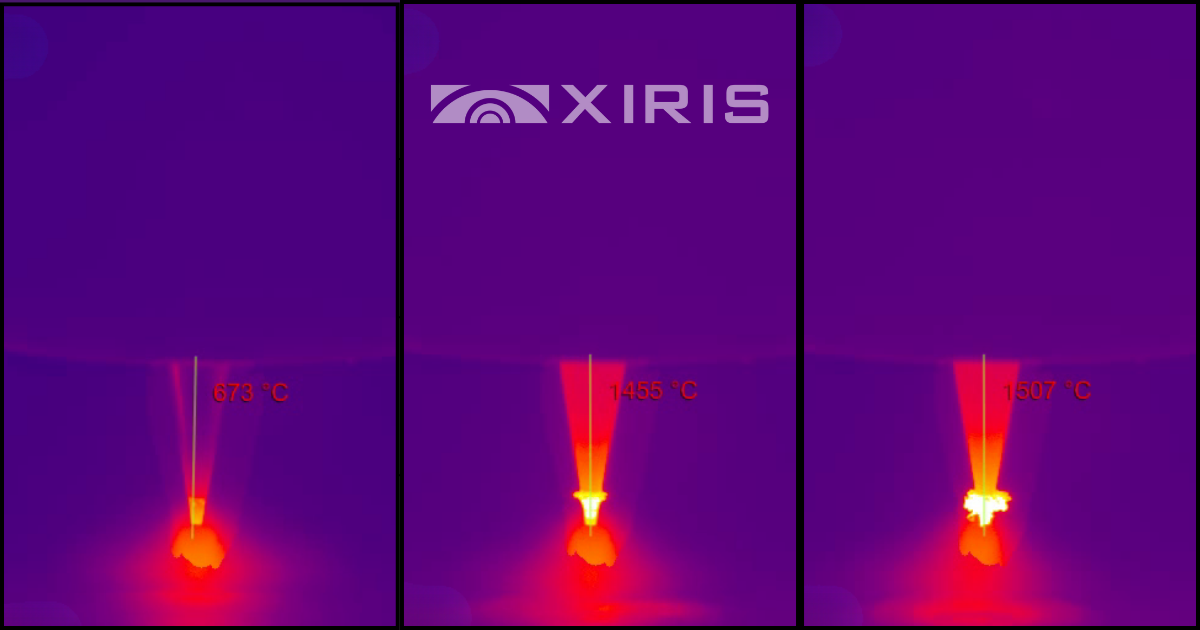
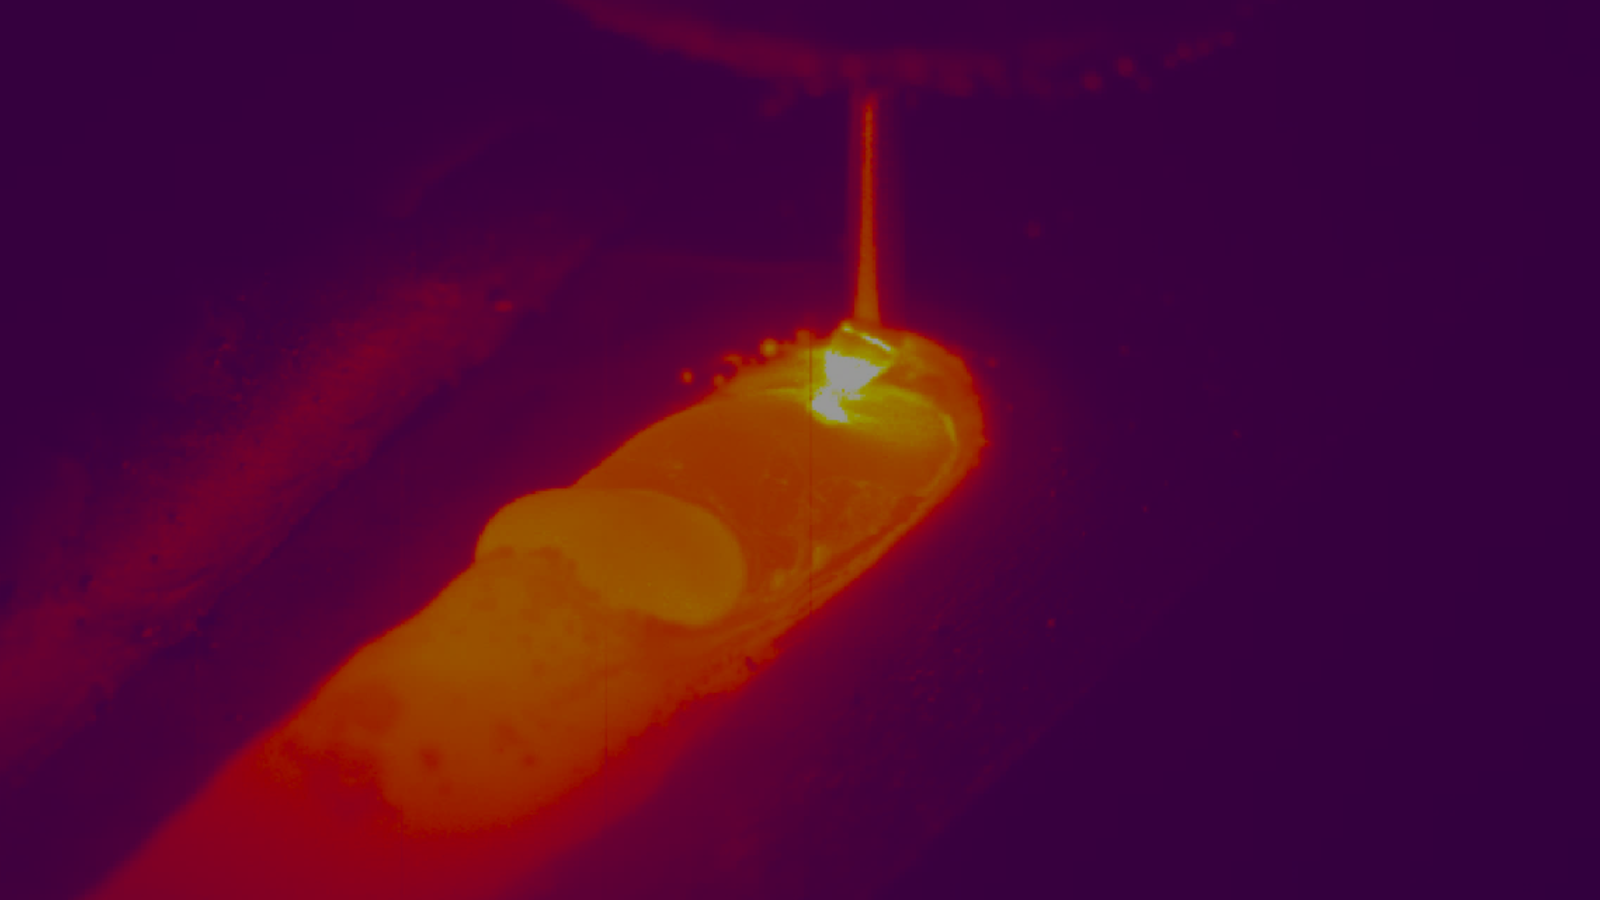
During tube production, immediately after the tube has been welded and before any further in-line processing is done, the weld bead must be scarfed off the tube. Scarfing is the process whereby the weld bead is cut off with a knife, or scarfing tool. Unfortunately, if the scarfing tool is not done properly, the tube may not meet end user customer specifications because of a rough surface left behind by the scarf tool. The result can be the primary contributor to creating a leak path on a compression fitting.
Using a surface profiling tool such as the Xiris WI2000, the scarf defect measurement can be used to detect how well the scarfing tool is cutting the weld bead and indicate the amount of scarf tool wear.
Scarf tool wear describes the gradual failure condition of a scarf cutting tool on a tube mill as a result of ongoing use. It can occur either as flank wear in which the portion of the scarf tool in contact with the welded tube erodes over time sometimes causing a ridge to be left behind in the scarf zone; or as crater wear, in which contact with chips of weld bead erodes the rake face of the tool causing an uneven cut surface; or a cluster of weld bead material building up on the face of the tool causing it to dredge a groove in the scarf zone. These conditions are somewhat normal for tool wear, and they do not seriously degrade the use of the scarf tool until it becomes serious enough to cause a scarf tool cutting edge failure that may be a concern for a potential leak path for the tube in its final use.
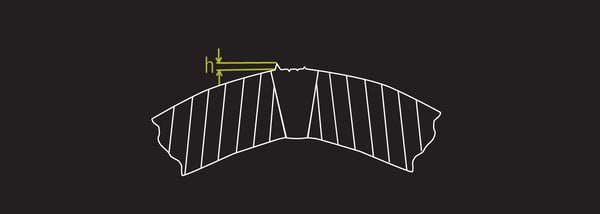
The scarf defect measurement on the WI2000 looks for any significant deviations in surface height above or below the ideal scarf surface. The Scarf Defect will detect the absolute value of the largest defect on the scarf surface. Any significant amount of scarf tool wear could reduce the specifications and performance of the final tube, especially for some automotive applications where tight assembly requirements or a smooth, scratch free surface is required.

The Definition of a Scarf Tool Wear: The scarf plane can be defined as the straight line drawn between the left and right scarf edges. Any detected features above or below the scarf plane, are measured as a scarf defect. The actual amount of wear is defined as the distance from the scarf plane measured perpendicularly to the scarf plane.
If you have any questions about our profile inspections for tube and pipe, please feel free to contact us.
Better Images. Better Decisions. Better Process Control.
Follow Xiris on social media for regular updates and welding videos!


.png)
